So, by now, you may have seen our
Provisional Cast On tutorial. If not, check it out, since it seems that Sandy Kay and I are odd ducks (well, you knew that already) and we do it differently than anyone else. And, as you never know when the odd technique will come in handy, we've decided to start documenting our own unique tips and tricks. Expect to see about one a week - hopefully every week.
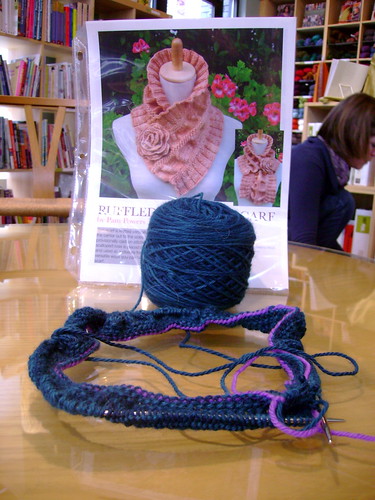
The first tip/ trick thing came about because I just started a
Ruffled & Ruched Scarf and, in a pique of curiosity, checked other Provisional Cast On methods online. And, d'ya know, I didn't find
anything like ours. Weird. But, in any case, we'll be writing up tutorials as we come across techniques in our own staff projects that warrant attention.
Shown above is my IP scarf. Say 'hi' to Eva in the background. Next week we're hoping I'll be along enough to demonstrate how to pick up a Provisional Cast On. I'd better get knitting, eh?
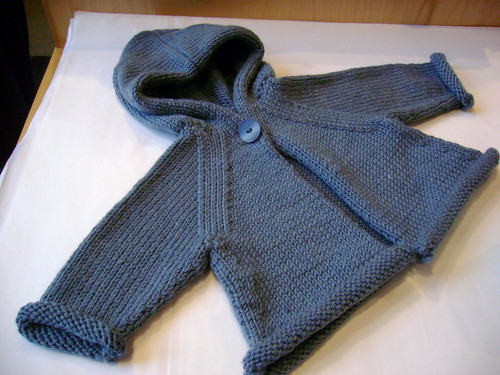
Moving on. We just have to share with you the cutest little baby sweater. Several of us staffers here helped Lynne translate the British knitting terminology from the pattern (it's a Debbie Bliss) and all feel that it was completely worth the time and effort:
It's so schweeet! The pattern is the Hooded Jacket from Debbie Bliss' Simply Baby book. It's not a hard pattern, by any means, just a little different for American knitters. Lynne certainly seemed to think it was worth the effort, too.
Next, I have two staff projects that will also feature into upcoming tutorials (so exciting!). The first is Darcy's
Thursday vest:
Being knit with Habu Textiles
Superfine Merino A-177 in Charcoal/ #6 and Habu Textiles
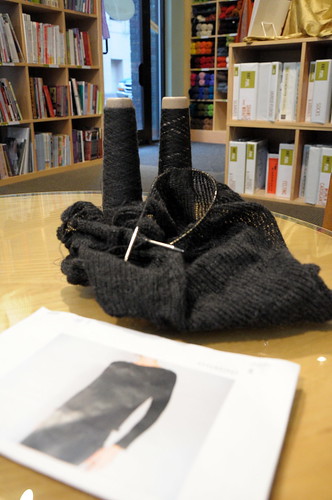
Ramie Cork A-166 in Black/ #10. When Darcy finishes the knitting, we'll do a quick tutorial on handsewing handknits - i.e. creating the "dorsal fin" cowl on the front.
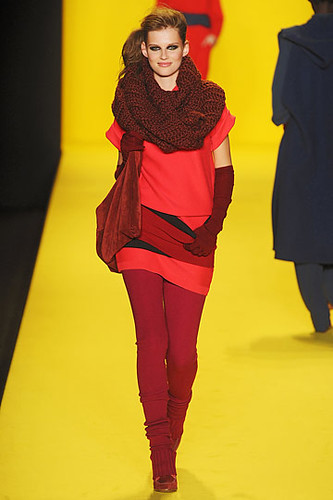
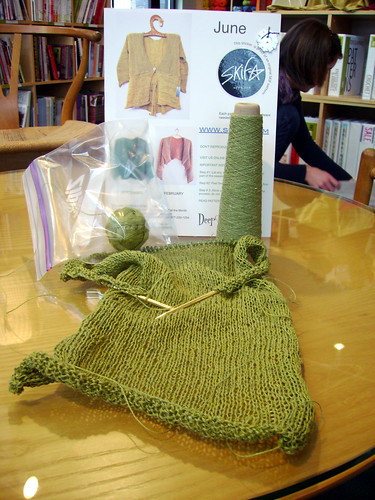
Then we have Sandy Kay's February shrug, which is actually a modified
Skif June:
(It's the red-orange shrug on the pattern)
This one is going to be a doozy. Sandy choose to combine Habu Textiles
XS-55 Linen Lace (yum) and
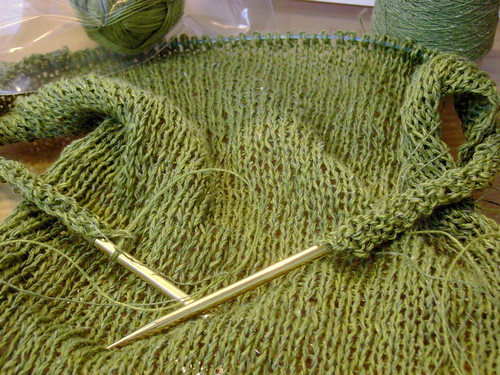
Tsumugi Fine N-76 in #39. The hand is unbelievable, and the color? Just magnificent.
She's currently at the arm increases and making rapid progress. This thing is going to be gorgeous. And when Sandy finishes knitting, we'll do a quick tutorial on sewing handknits with a sewing machine! Sandy Kay is planning to bring in her Bernina. That'll be interesting.
Now, lastly, do you know about the upcoming Portland Yarn Crawl? You probably do, since we've mentioned it twice in two newsletters and on the blog, on twitter, and on ravelry. But, just in case this is the first you've heard of it...
- See the website.
- We'll be participating from March 5 - March 7th
- There will be a yarn crawl raffle - win a prize basket from the organizers, or one of many, many prizes from us!
- We will be hosting THREE amazing trunkshows this weekend - CoCo Knits, Ori Ami Knits, and Habu Textiles.
- There will be a Portland Yarn Crawl scavenger hunt and, yes, we have one of the pieces.
- Another session of Reading Japanese Patterns has been scheduled on Saturday, March 6th.
- We'd compiled a list of easy parking suggestions, just because:
- We validate for ALL Smart Park garages with purchases over $25
- Street parking is $1.60/ hr (free after 7pm and on Sunday)
- Weekday parking at the nearby Presbyterian Church is $3/ hr in their secure, underground garage
- Weekend parking at the nearby Presbyterian Church is $2.55/ all-day before 5 pm. After 5 pm, it’s $4.
The Presbyterian Church is located on the corner of SW 12th and Alder - just 1 block from us (and the Streetcar) and 2 - 3 blocks from the MAX!
- There will be all sorts of prizes and other fun special events at the store - but you have to show up to find out!
We'll hope to see you here this weekend!
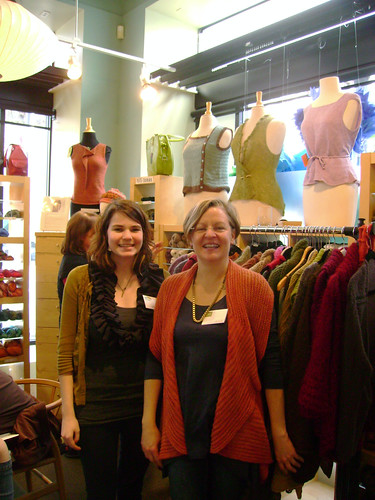 This is Julie Weisenberger (modeling her pattern Yvonne) and myself in front of her garments.
 Takako and myself in front of our Habu display.
 Eva was kind enough to model a new CoCoKnits pattern, Lena, for me. It's done in Rowan Lima, a mostly alpaca with a touch of merino blend, and oh my goodnes, is it a dream. I think this one left us all drooling, I can't wait for the pattern to be published!
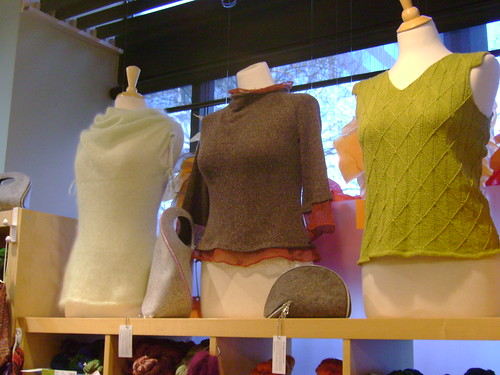 These pieces are all from Ori Ami Knits, from left to right are the Arcus Pullover in Habu A-32B silk mohair, the Duplicity Pullover in Habu Tsumugi Silk A-1 and Wool Stainless Steel A-148, and the Axonometric Top done in Habu A-174 Cotton Gima.
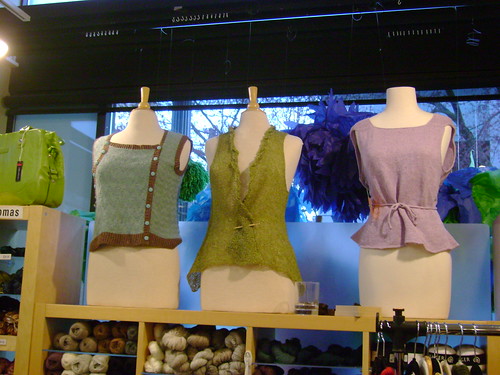 These beauties are on the far left the Puzzle Vest from Ori Ami Knits done in Tsumugi Silk A-1,. In the middle we have Tessa by CocoKnits done in Habu Shoshenshi Linen Paper A-60, and finally on the right another of my absolute favorites from Ori Ami Knits the Foldover Top , done in Habu Silk Stainless Steel A-20/21 and Tsumugi Silk A-1.
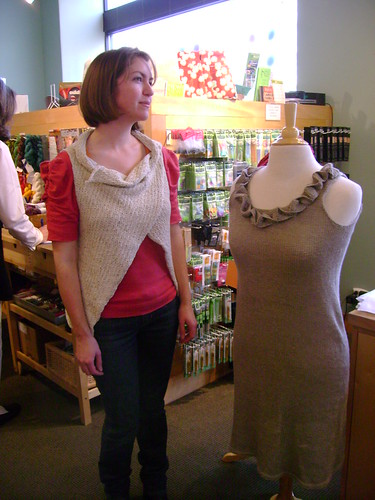 Thanks again to Eva for modeling the beautiful Rhombus Wrap from Ori Ami Knits. I think this one was a favorite for all of us. The gorgeous dress next to her is Concertino, also from Ori Ami Knits. This piece was by far my favorite, done in the Habu XS-21 linen held double it is absolutely the perfect weight for spring and just look at this detail:
 So beautiful! I cannot wait for this book to come out! A big thanks to Julie and Takako for bringing all of their beautiful pieces to share with us and for letting me be a huge nerd and take photos with them. I hope we get to see you again soon!